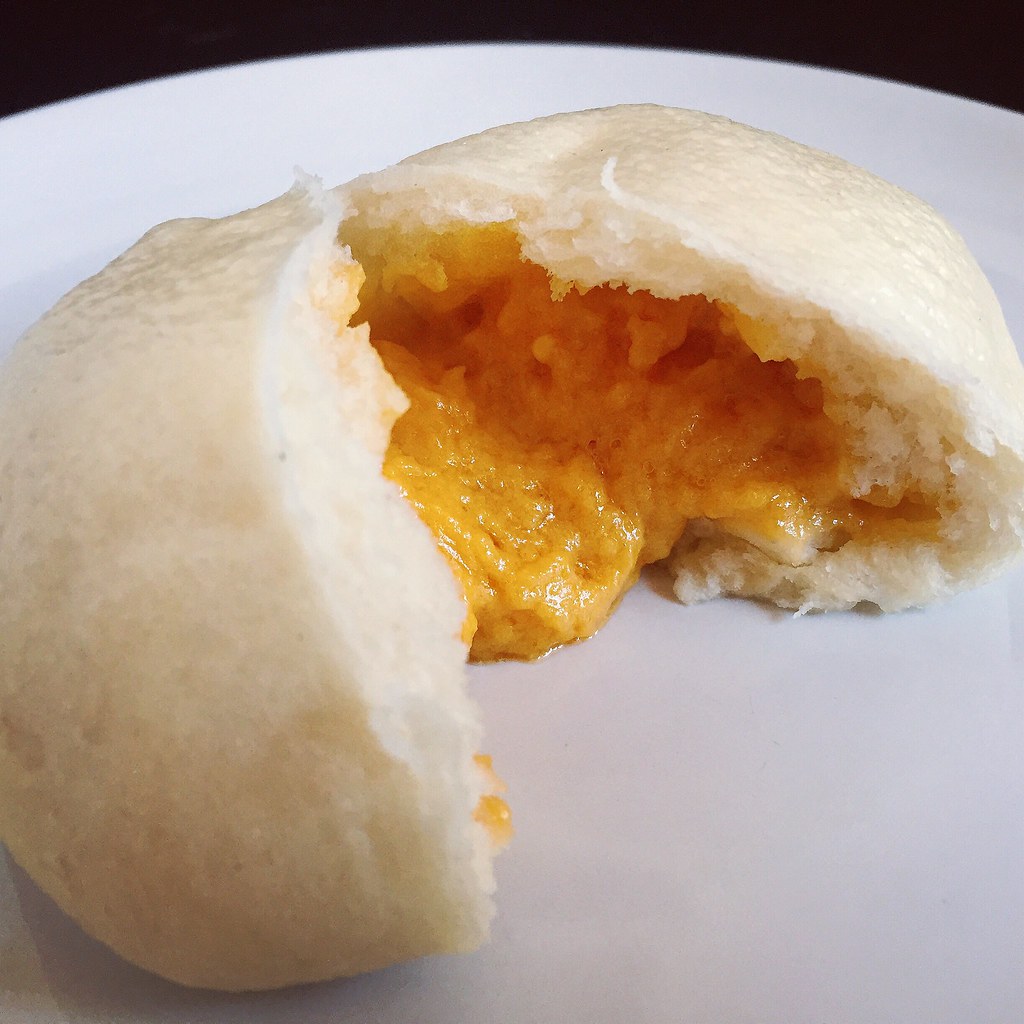
Earlier last year I discovered a new kind of steamed bun, the liu sha bao. I think translated directly it means "quicksand bun" but it's actually a lot better tasting that it sounds. Inside is a molten filling made of salted egg yolk custard, and I could probably eat 5 of them in a row. I tried making some a few weeks ago, but the result was just okay and not really worth all the work when I can just get the perfected bun at dim sum.
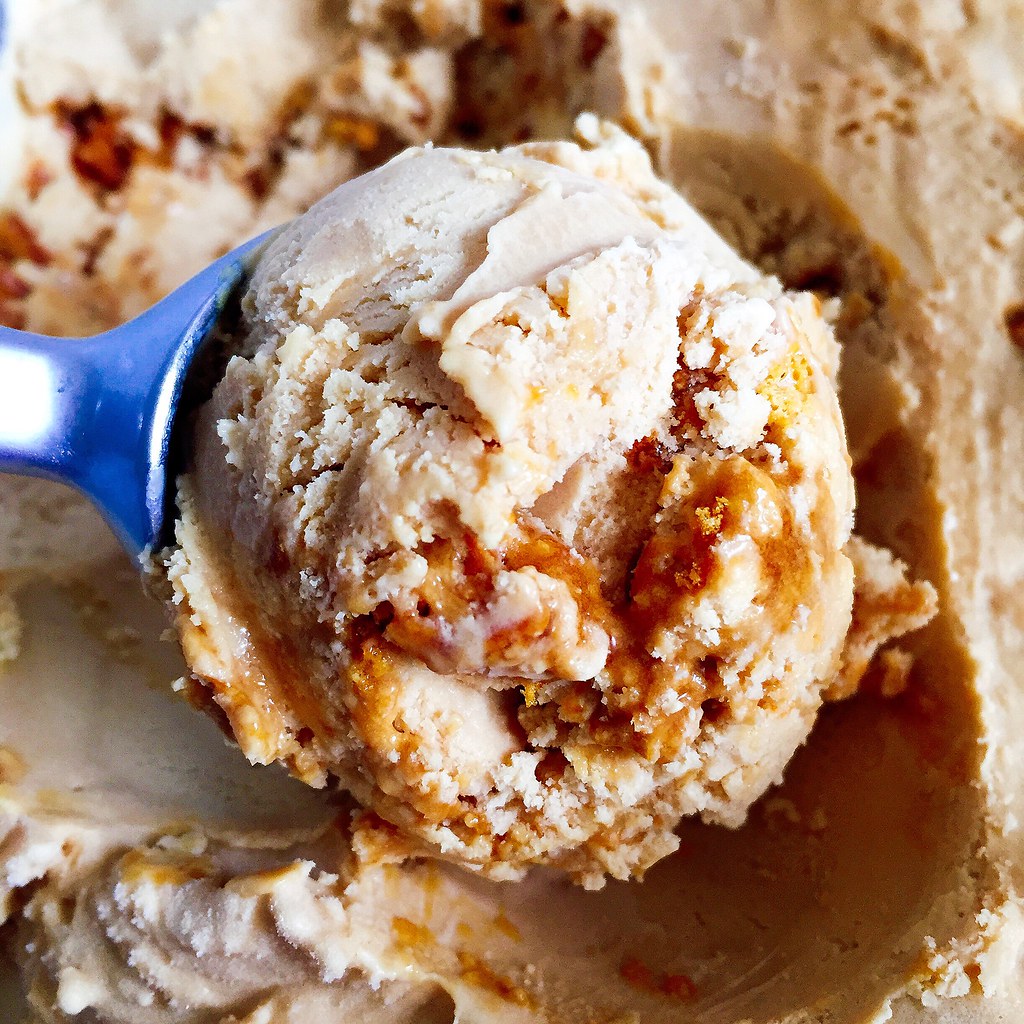
Because of that experiment I still had 3 cooked salted duck eggs sitting in my fridge, though, so I figured I'd try to make an ice cream out of them. I followed the template of Jeni's Salty Vanilla Frozen Custard, but I replaced 3 of the raw egg yolks with 3 cooked salted duck egg yolks, which you can find in the egg section of a Chinese grocery store. I reduced the salt a little because the egg yolks were already salted and added a little bit of turmeric to increase the yellow coloring of the ice cream. It still comes out a rather pale yellow, but I didn't want to add any artificial food coloring.
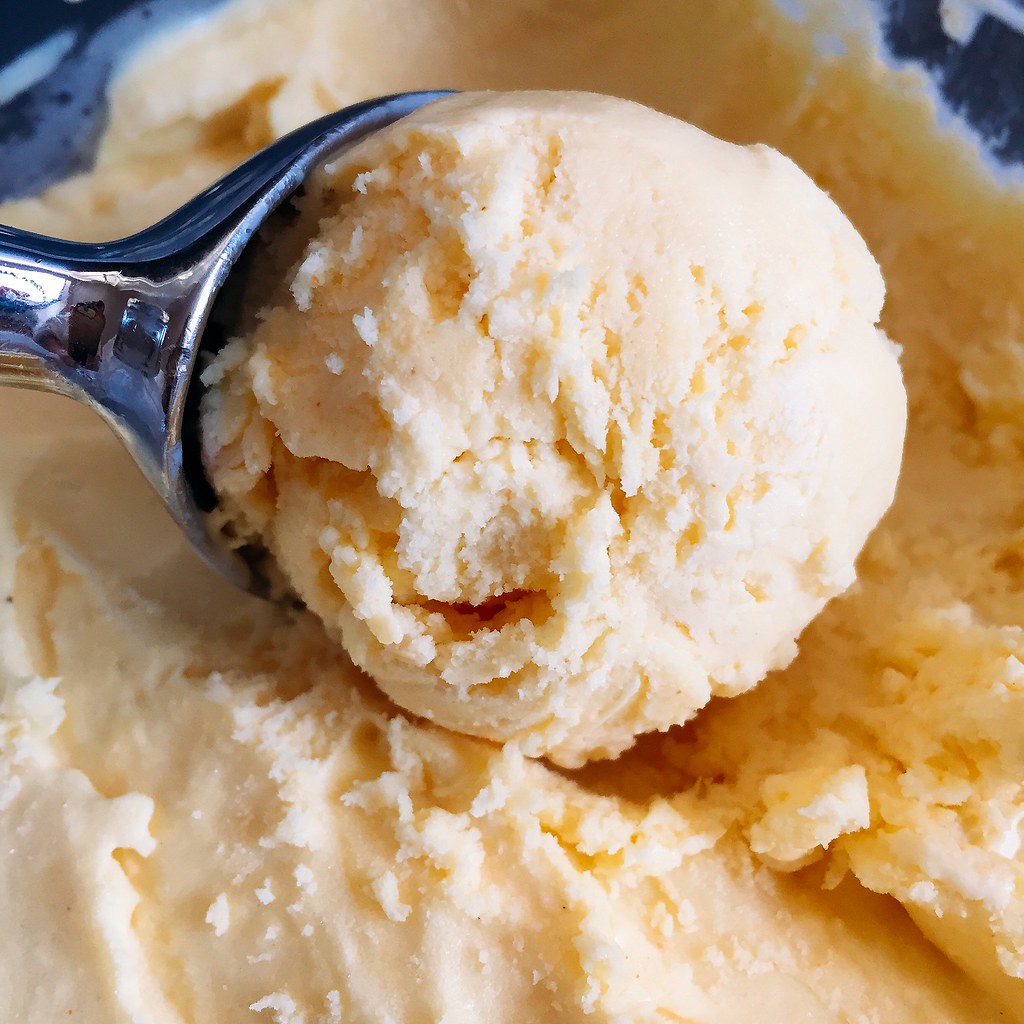
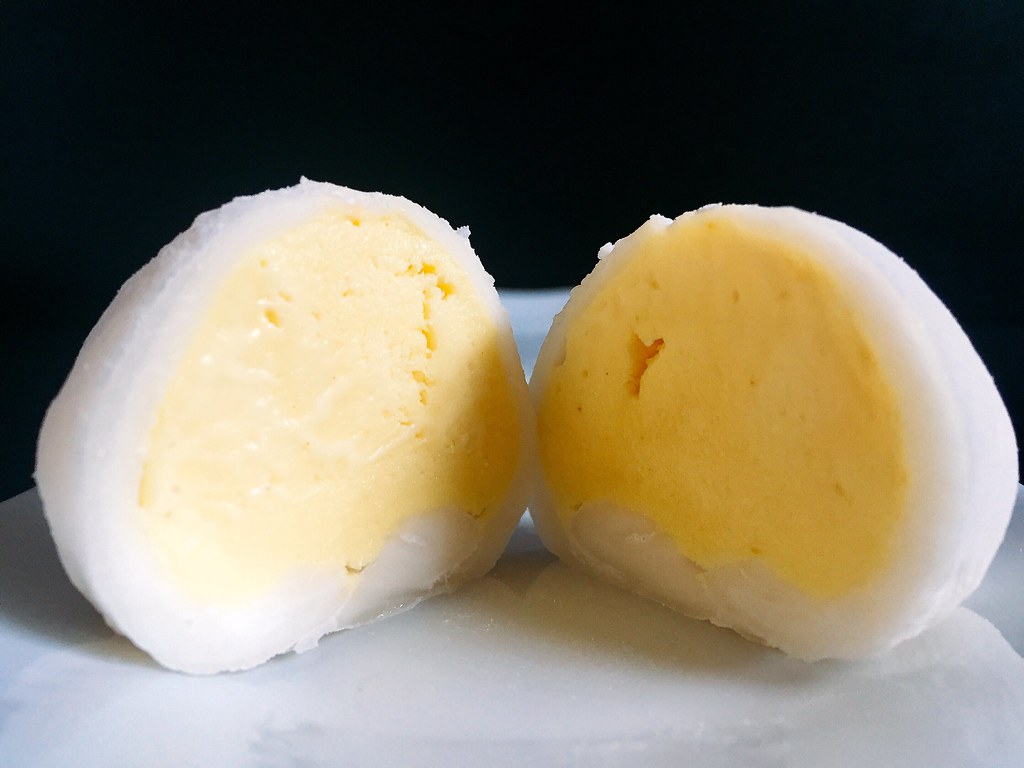
The resulting ice cream is incredibly rich, and tastes pretty much like the inside of a liu sha bao but in ice cream form. So I decided to try making it into mochi ice cream to continue down that path. I've tried making mochi ice cream before and that attempt was disastrous, to say the least, so this time I made sure to follow a trusted recipe. I'm happy to say that the one from Just One Cookbook worked marvelously. These salted egg yolk mochi ice creams are perfect because you only need a couple of bites of the ice cream, and the soft, chewy mochi helps keep the intense flavor from being too overwhelming. Plus, I think they look super cute and remind me of liu sha bao!
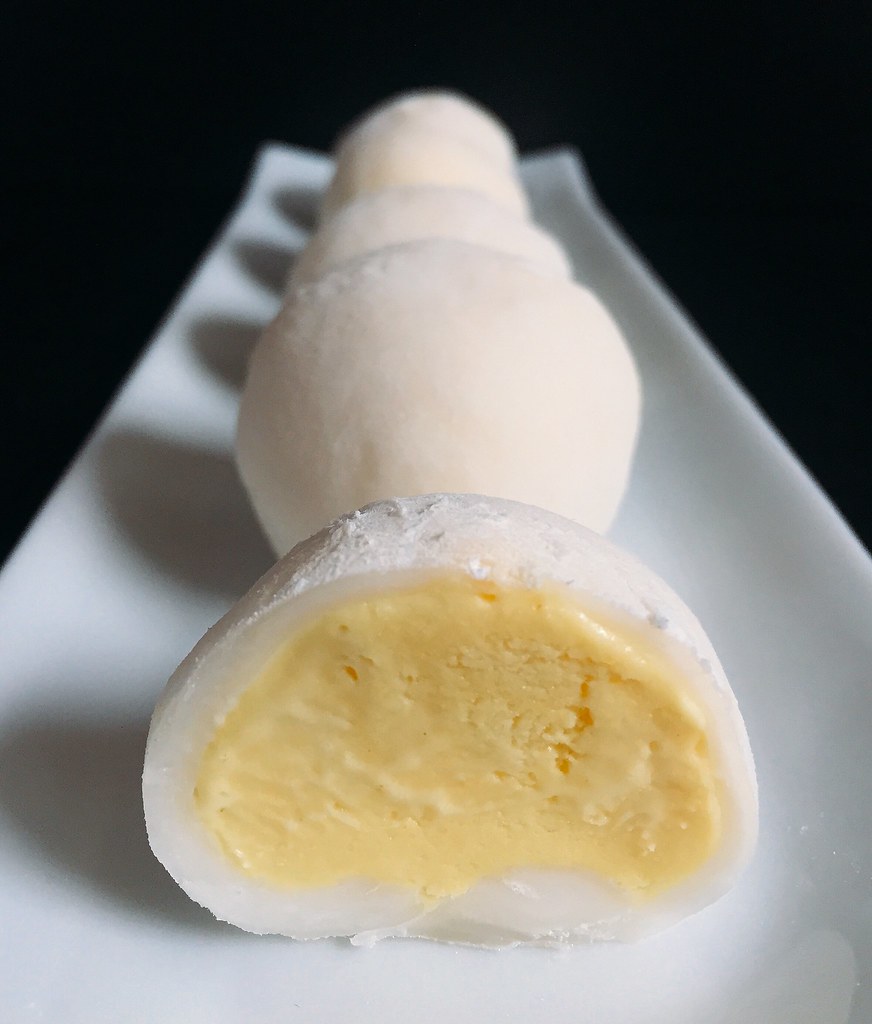
Salted Egg Yolk Ice Cream (adapted from Jeni's Splendid Ice Cream Desserts)
makes about 1 quart
3 cooked salted duck eggs
2 tablespoons cream cheese, softened
1/2 teaspoon kosher salt
1/8 teaspoon turmeric
2 3/4 cups whole milk
3 large raw egg yolks
1 tablespoon plus 2 teaspoons cornstarch
1 cup heavy cream
3/4 cup sugar
2 tablespoons light corn syrup
Carefully crack and peel the salted duck eggs, removing the whites until you are left with only the egg yolks. Mash the egg yolks in a medium bowl, then add the cream cheese, salt, and turmeric and whisk until smooth.
Mix about 2 tablespoons of the milk, the raw egg yolks, and cornstarch in a small bowl and set aside. Fill a large bowl with ice and water.
Combine the remaining milk, the cream, sugar, and corn syrup in a 4-quart saucepan, bring to a boil over medium-high heat, and boil for 4 minutes. Remove from the heat and gradually add about 2 cups of the hot milk mixture to the egg yolk mixture, one ladleful at a time, stirring well after each addition. Pour the mixture back into the saucepan and heat over medium heat, stirring constantly with a heatproof spatula, just until the mixture thickens. Remove from the heat and strain through a sieve if necessary.
Gradually whisk the hot milk mixture into the cream cheese mixture until smooth. Pour the mixture into a 1-gallon Ziploc freezer bag and submerge the sealed bag in the ice bath. Let stand, adding more ice as necessary, until cold, about 30 minutes.
Remove the frozen canister from the freezer, assemble your ice cream machine, and turn it on. Pour the custard base into the canister and spin until thick and creamy.
Pack the custard into a storage container. Press a sheet of parchment directly against the surface and seal with an airtight lid. Freeze in the coldest part of your freezer until firm, at least 4 hours.
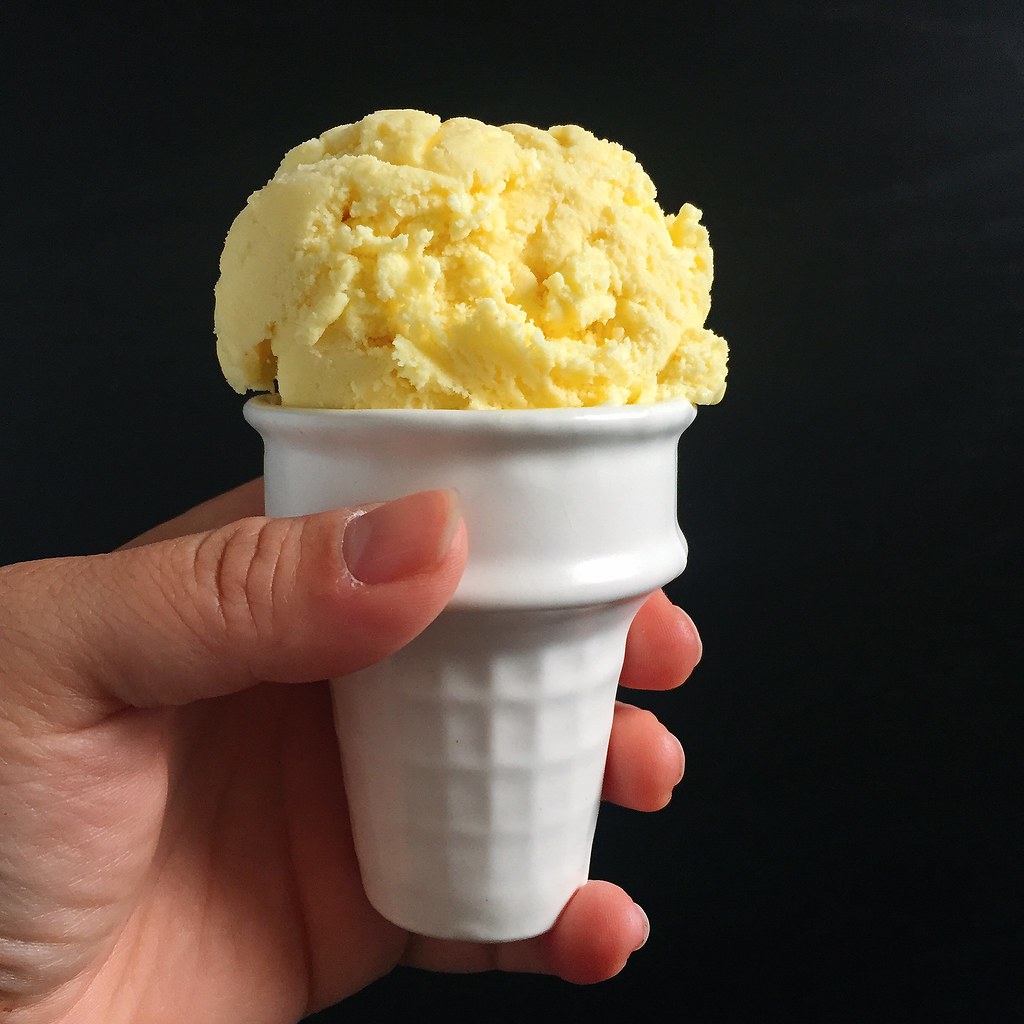
Mochi Ice Cream (adapted from Just One Cookbook)
makes about 6-8 pieces
Ice cream
3/4 cup glutinous rice flour
1/4 cup sugar
3/4 cup water
1/2 cup cornstarch
Place a cupcake pan in the freezer to chill. Use a cookie dough scooper to scoop 6-8 balls of ice cream. Place each ball on an aluminum cupcake liner in the cupcake pan and freeze for several hours until hard.
Whisk together the glutinous rice flour, sugar, and water in a medium microwaveable bowl. Cover and microwave for 30 seconds. Stir with a wet rubber spatula then microwave for another 30 seconds. Continue to stir and microwave in 30 second increments until the mochi comes together in a slightly translucent, sticky mass.
Generously dust a Silpat or parchment paper with cornstarch. Transfer the mochi on top and dust with additional cornstarch. Dust a rolling pin with cornstarch and roll out the mochi into a thin layer, about 1/8". Chill in the refrigerator for 15 minutes.
Use a 3 1/2" cookie cutter to cut the mochi into circles. I was able to easily cut out 6 circles, and if you want, you can reroll the scraps to make more circles, just make sure to redust with cornstarch.
Place one of the scoops of ice cream in the center of a mochi circle. Bring the edges of the mochi up and over the ice cream and seal together, working quickly so that the ice cream doesn't melt. Wrap in plastic wrap and return to the freezer. Repeat with the other scoops of ice cream and mochi circles.
When ready to eat, let sit at room temperature for a few minutes so that the mochi can soften.
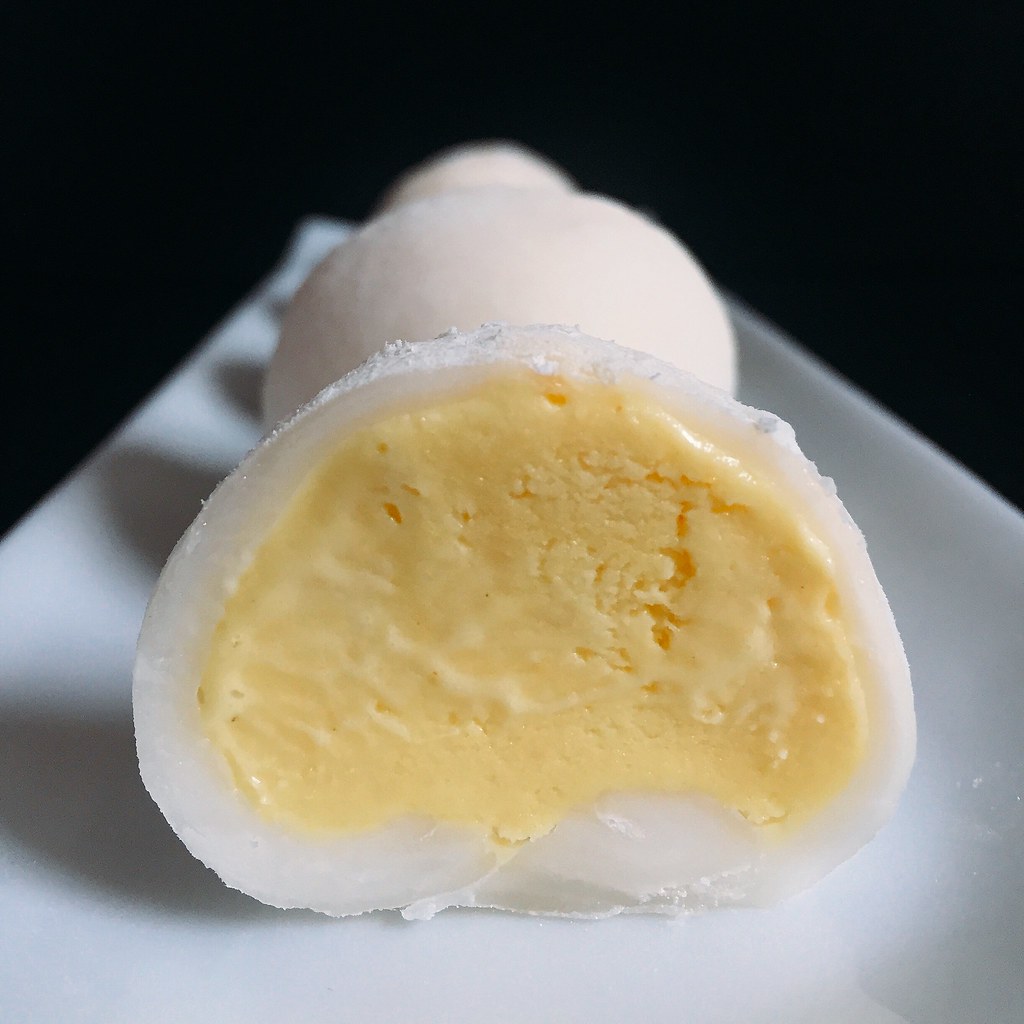
Next: French Onion Tater Totchos
Previously: Marion Cunningham's Yeast-Raised Waffles
Two Years Ago: San Bei (Taiwanese Three Cup) Tofu and Ramen
Three Years Ago: Grilled Cheese Egg in a Hole
Four Years Ago: Homemade Bagels
Seven Years Ago: Sweet Potato Gnocchi with Maple Cinnamon Sage Brown Butter
Eight Years Ago: Dutch Babies