Showing posts with label garlic. Show all posts
Showing posts with label garlic. Show all posts
Monday, September 19, 2016
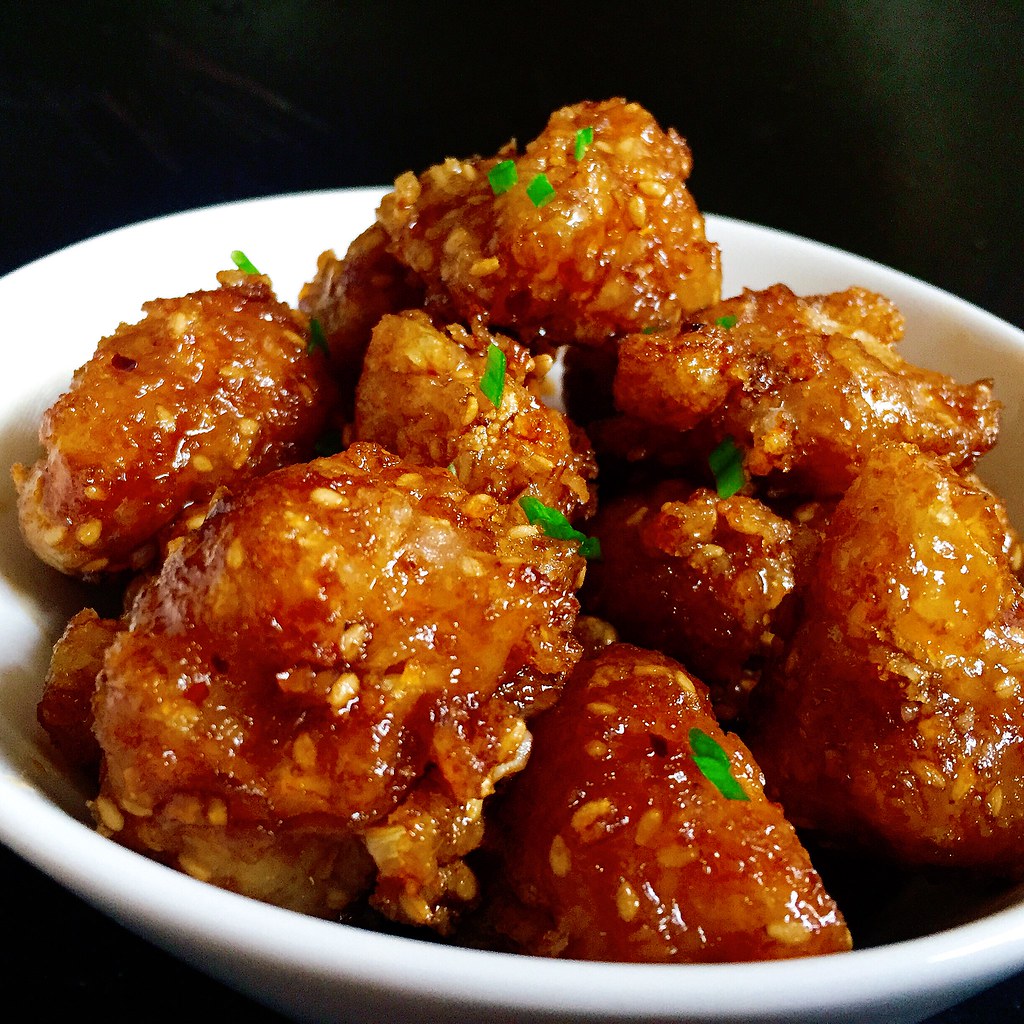
Soy Garlic Glazed Korean Fried Cauliflower
During my stint as a vegan (which became vegetarianism and then pescetarianism until I finally gave up this year and became an omnivore again), I would often crave Bon Chon chicken. That gloriously crispy, thin-skinned chicken with the amazing soy garlic glaze would haunt me, and I'll admit that I sometimes gave in. It was just too good to give up.
I wish I had had this recipe for Korean fried cauliflower back then, but to be honest, this substitute is so good, I might even prefer it over the real thing. I adapted the recipe from Serious Eats' well researched recipe and just reduced the amount of vinegar and upped the garlic in the glaze according to my own taste preferences. If you don't have the sesame seeds and/or finely shredded coconut to add to the batter, you can omit them, but they add some great texture to the cauliflower.
Even though they're meant to be an appetizer, I ended up eating them with rice like I would with sesame chicken. And if you want to save any as leftovers, I would refrigerate the cauliflower after they're fried and drained. The next day, heat them up in the toaster oven and then toss them with the sauce; that way they will still be crispy.
Soy Garlic Glazed Korean Fried Cauliflower (adapted from Serious Eats)
serves 4-6 as an appetizer or 2 as an entrée
For the Soy Garlic Glaze:
1/4 cup soy sauce
1 teaspoon rice wine vinegar
2 tablespoons mirin
6 tablespoons brown sugar
1 1/2 teaspoons mince garlic
1/2 teaspoon freshly grated ginger
Pinch of red pepper flakes
1 teaspoon toasted sesame oil
1 1/2 teaspoons cornstarch
Combine everything except for the cornstarch in a small saucepan and heat over medium heat. Make a slurry with the cornstarch and 1 1/2 teaspoons water. Whisk into sauce and bring to a boil. Cook until the sauce is reduced and slightly thickened, about 3 minutes.
For the Korean Fried Cauliflower:
Vegetable oil, for frying
1/2 cup cornstarch
1/2 cup all-purpose flour
1/2 teaspoon baking powder
1/3 cup toasted sesame seeds
1/3 cup unsweetened finely shredded coconut
2 teaspoons kosher salt
1/2 cup cold water
1/2 cup vodka
1 head cauliflower, cut into 1/2" - 1" florets
Pour enough oil into a Dutch oven or large pot for it to reach at least 2". Preheat the oil to 350°F.
Combine the cornstarch, flour, baking powder, sesame seeds, coconut, and salt in a large bowl and whisk until homogeneous. Add the water and vodka, and whisk to form a smooth batter.
Add the cauliflower to the batter. Fry the cauliflower in batches, letting the excess batter drip off each one before you lower it into the oil. Remove with a slotted spoon when golden brown and let drain on a paper-towel lined plate.
Toss the fried cauliflower with the soy garlic glaze and serve immediately.
Next: Pear Apple Cranberry Slab Pie
Previously: Caramelized Honeycomb Ice Cream
Two Years Ago: Hokkaido Milk Bread Three Ways (Traditional, Braided, and Taro Swirl)
Three Years Ago: Salted Butter Caramel Apple Pie with Vodka Pie Crust
Tuesday, July 26, 2016
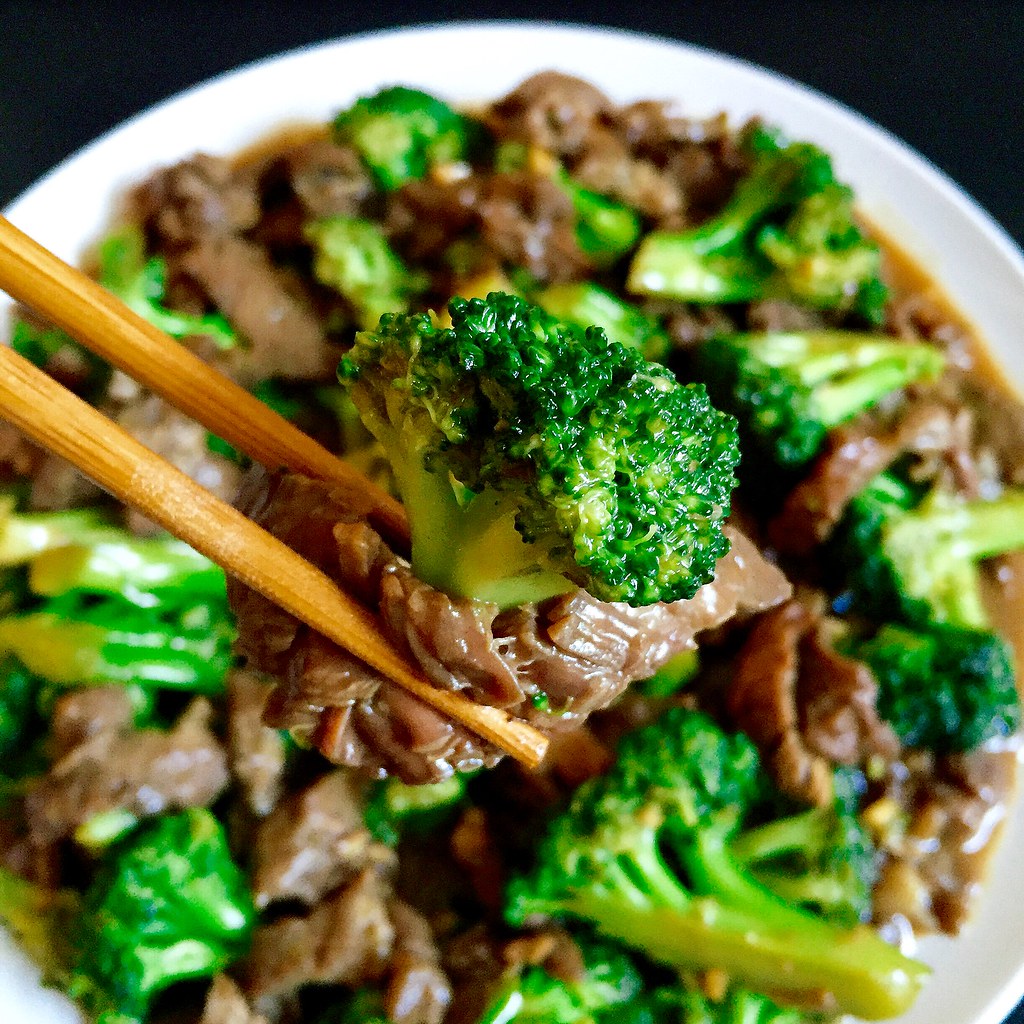
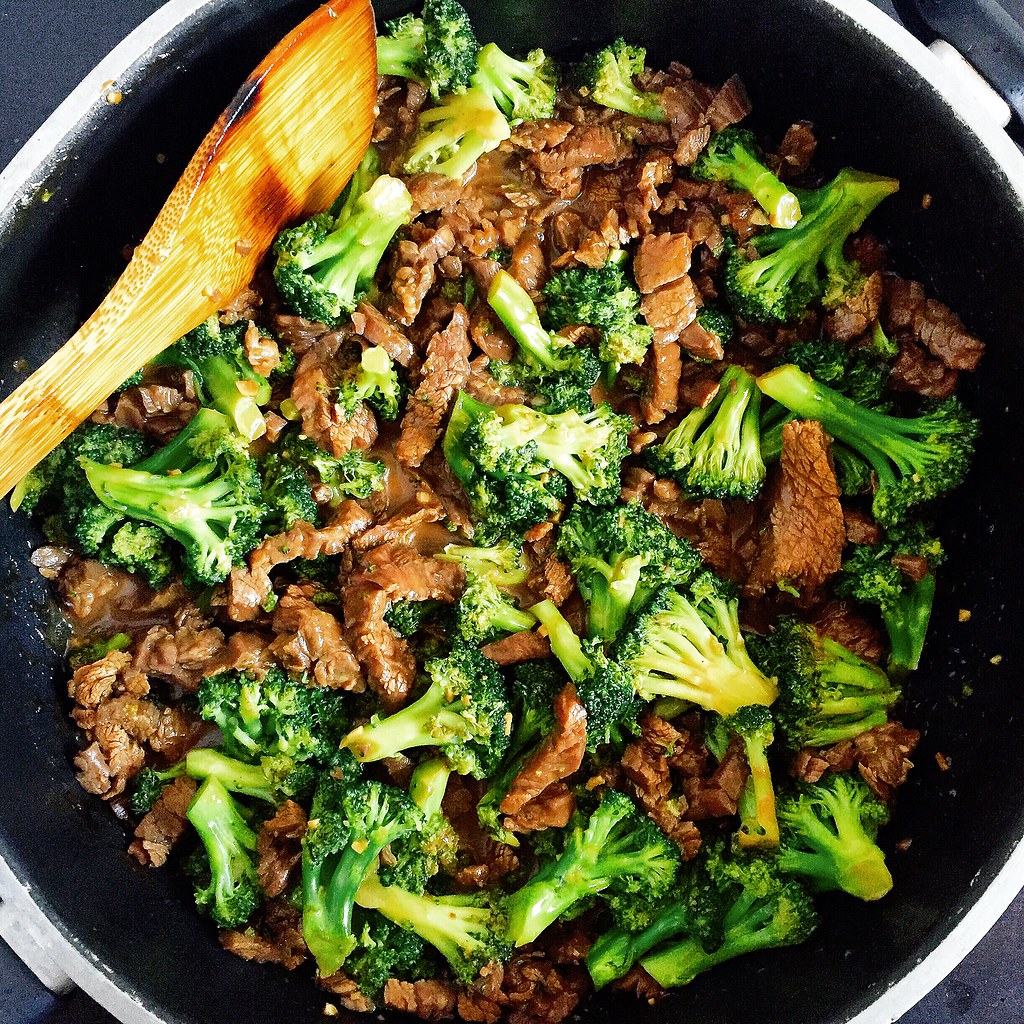
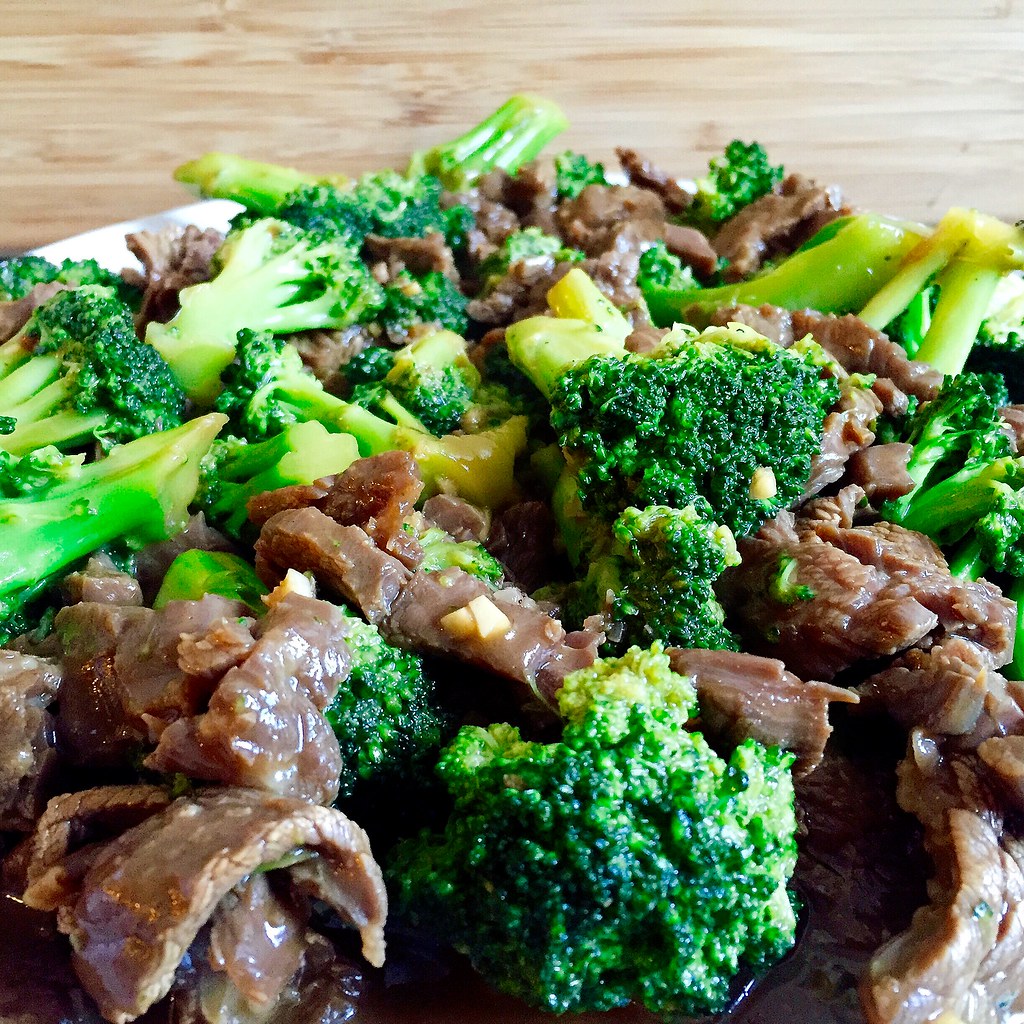
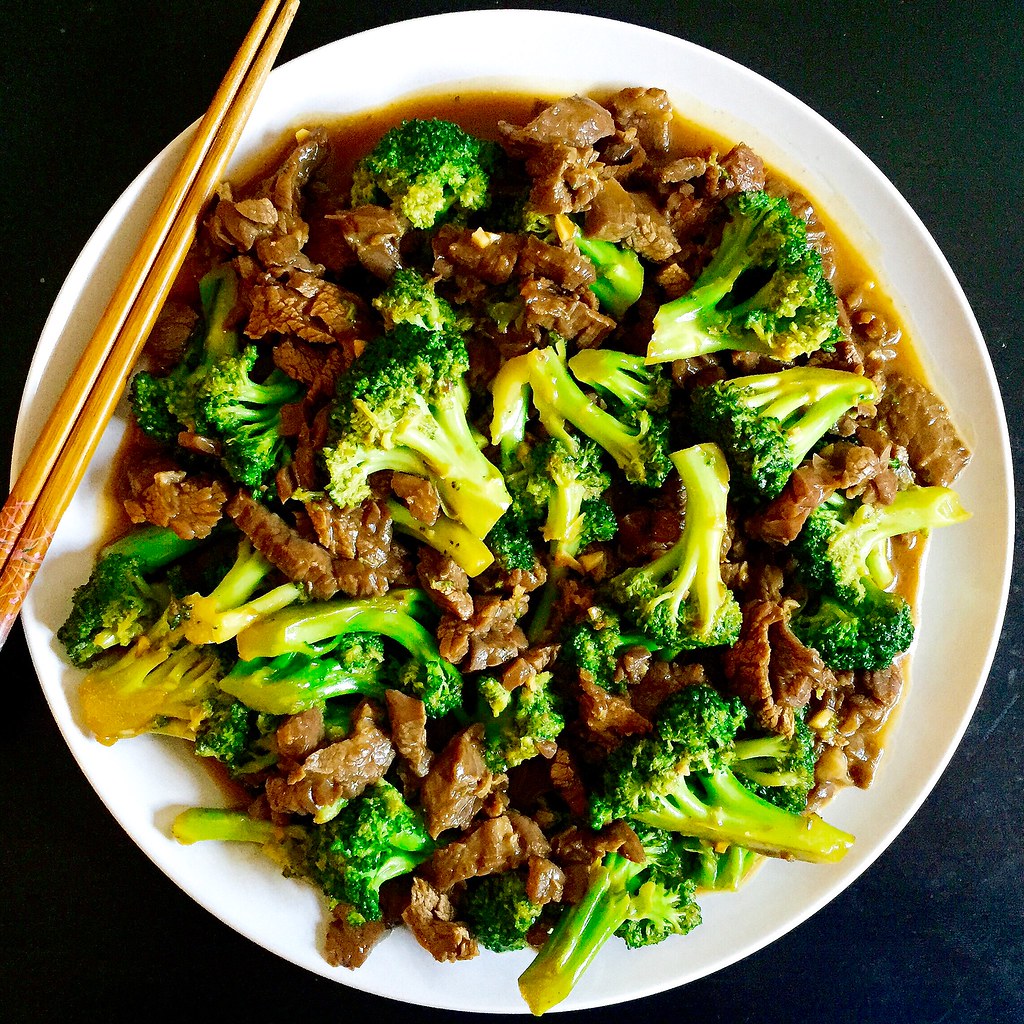
My Mom's Beef and Broccoli Stir Fry
This is one of the original recipes in the cookbook that I made for my mom's Christmas gift 8 years ago. I would've shared it earlier, except I thought I'd shared it already! It's a classic dish to order from a Chinese restaurant--velvety strips of marinated beef stir fried with tender crisp broccoli in a flavorful brown sauce--and perfect served over steamed white rice.
To keep the beef tender and not chewy, it's important to slice the strips against the grain. The addition of cornstarch in the marinade further helps improve the texture of the beef. Since the broccoli takes a lot longer to cook than the beef, it is cooked separately while the beef is marinating and then added back in at the end. You'll want to use a large pan with a lid so that you can steam the broccoli after a quick stir fry.
My favorite part about this recipe is the marinade which ends up becoming the sauce upon stir frying with the beef. It is already quite fragrant due to the soy sauce, garlic, and sesame oil, but my mom adds a secret ingredient that really brings it over the top: cinnamon! Only a tiny amount is added that you can't really taste it, but the aromatic spice somehow boosts all the other flavors in the sauce in a way you wouldn't expect.
My Mom's Beef and Broccoli Stir Fry
serves 4
1 lb. flank or sirloin steak, sliced thinly against the grain
1/4 cup tablespoons soy sauce
2 tablespoons cornstarch
4 tablespoons rice wine
1 teaspoon sesame oil
1 1/2 tablespoons sugar
2 garlic cloves, minced
1/4 teaspoon ground cinnamon
4 tablespoons vegetable oil, divided
6 cups broccoli florets
Salt, to taste
Whisk together the soy sauce, cornstarch, rice wine, sesame oil, sugar, minced garlic, and cinnamon. Toss with the sliced steak and marinate for at least 30 minutes.
In a large frying pan, heat 2 tablespoons of oil on high and add the broccoli florets. Season with salt and stir fry until bright green. Add 1/2 cup water and cover. Steam until the broccoli is done. Transfer the broccoli to a bowl, and wipe down the pan.
Add another 2 tablespoons of oil and heat on high again. Add the steak and marinade to the pan and stir fry until the beef is just done and no longer red. Add the broccoli back into the pan and continue to stir fry for another minute or two to combine. Serve hot.
Next: Zucchini Pizza
Previously: How to Make an American Flag Cake
Two Years Ago: Cleveland Cassata Cake (Bonus: In a Jar!)
Three Years Ago: Backyard Mint Ice Cream with Dark Chocolate Freckles
Six Years Ago: Slow Cooker Bolognese Sauce
Seven Years Ago: Curried Carrot Soup
Wednesday, June 10, 2015
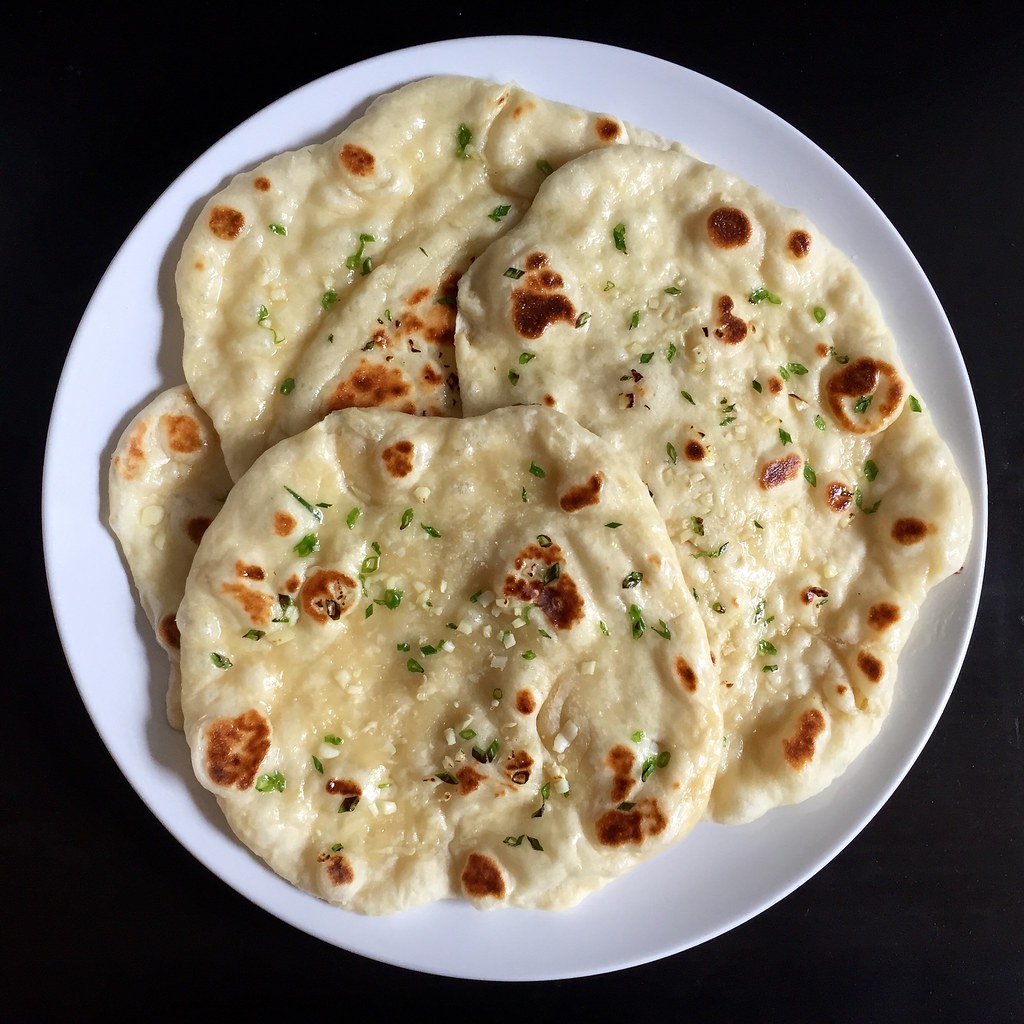
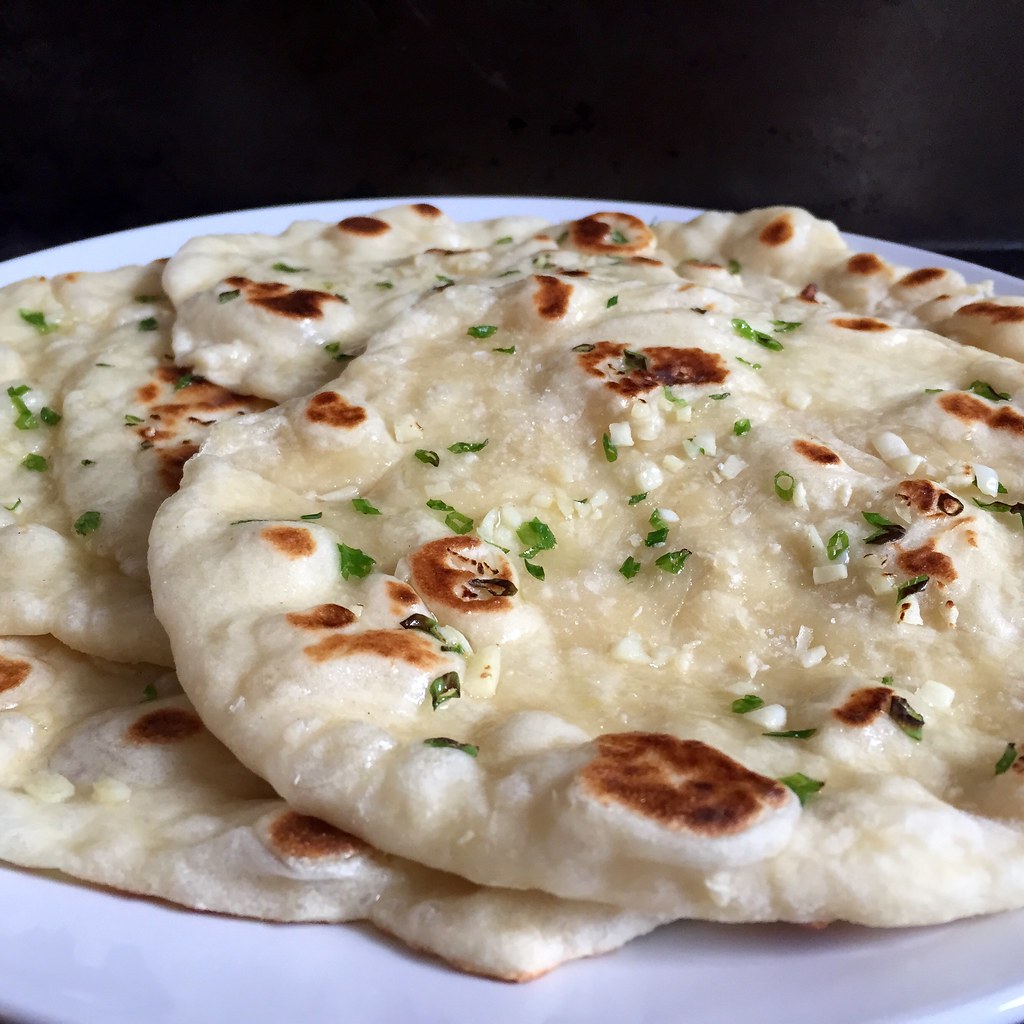
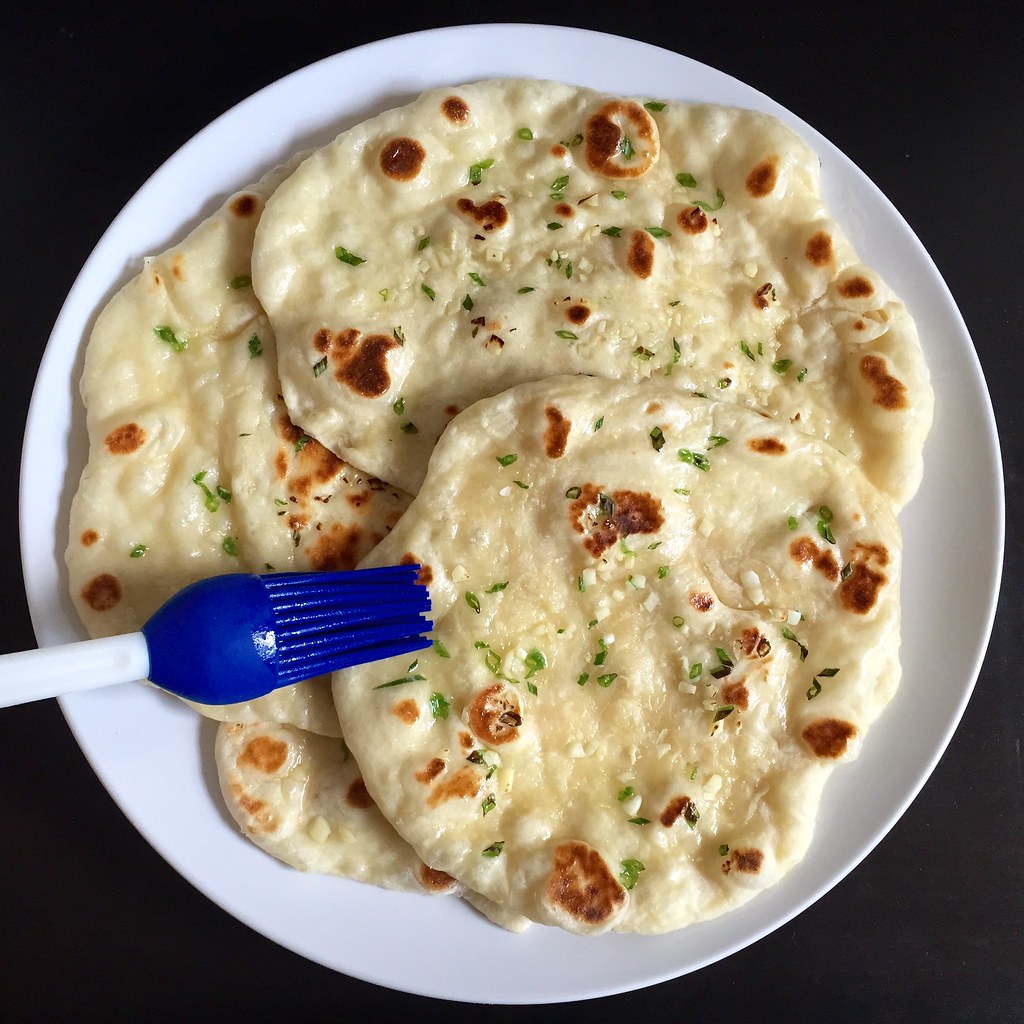
Garlic Naan
What's the point in making tikka masala if you don't have any naan to swipe up the leftover sauce? If I had known how easy it was to make naan on the stovetop, I would've made it a long time ago! Since I had some garlic and scallions lying around, I decided to make the garlic version, which let's face it, is so much better than the plain version.
I found the dough to be on the wetter side, so make sure you work it on a floured surface and use a floured rolling pin or else it'll end up sticking everywhere and to everything. Sadly, naan does not keep well so I would suggest eating it the same day it is made.
Garlic Naan (adapted from Saveur)
makes 4 pieces
6 tablespoons water heated to 115°F
1/2 teaspoon honey
1 heaping teaspoon active dry yeast
1 cup all-purpose flour
1⁄4 cup plain, full-fat Greek yogurt
1 tablespoon canola oil
1⁄4 teaspoon kosher salt, plus more for sprinkling
1 tablespoon minced garlic
1 tablespoon chopped scallions
Melted ghee or butter, for brushing
Stir water and honey in a bowl. Add the yeast and let sit until foamy. Add the flour, yogurt, oil, and salt and stir until dough forms. Knead the dough in bowl until smooth, about 5 minutes. Cover and let sit in a warm place until doubled in size, about 1 hour.
Transfer dough to a floured work surface and divide into 4 balls. Working with 1 ball at a time and using a rolling pin, roll dough into a 7" circle about 1⁄4" thick. Sprinkle with garlic and scallions and press into dough.
Heat a 12" nonstick skillet over medium-high. Working with 1 piece dough at a time, cook dough, plain side down, until bubbles appear over the surface and brown spots appear on the bottom, about a minute. Flip the dough and cook until the bottom gets browned in spots as well. Transfer naan to a plate and brush with ghee. Sprinkle with more kosher salt and serve hot.
Next: Pasta con le Sarde
Previously: Tofu Tikka Masala
Last Year: Vegan Almond Joy Ice Cream and Bon Bons
Two Years Ago: Spaghetti Carbonara for One
Five Years Ago: Elote (Mexican Grilled Corn)
Six Years Ago: Black Sesame Ice Cream
Subscribe to:
Posts (Atom)
Happy Birthday Pam!
It was Pam birthday and her lovely husband set the cooking party with good friends for her as she love cooking and Thai food. They are real...

